
Hardwiring My School To Limit Wireless Radiation Exposure : Where To Begin?
If your school has opted to hardwire, this is actually great news and a huge step towards limiting wireless radiation exposure for children in school. We are so happy for you!
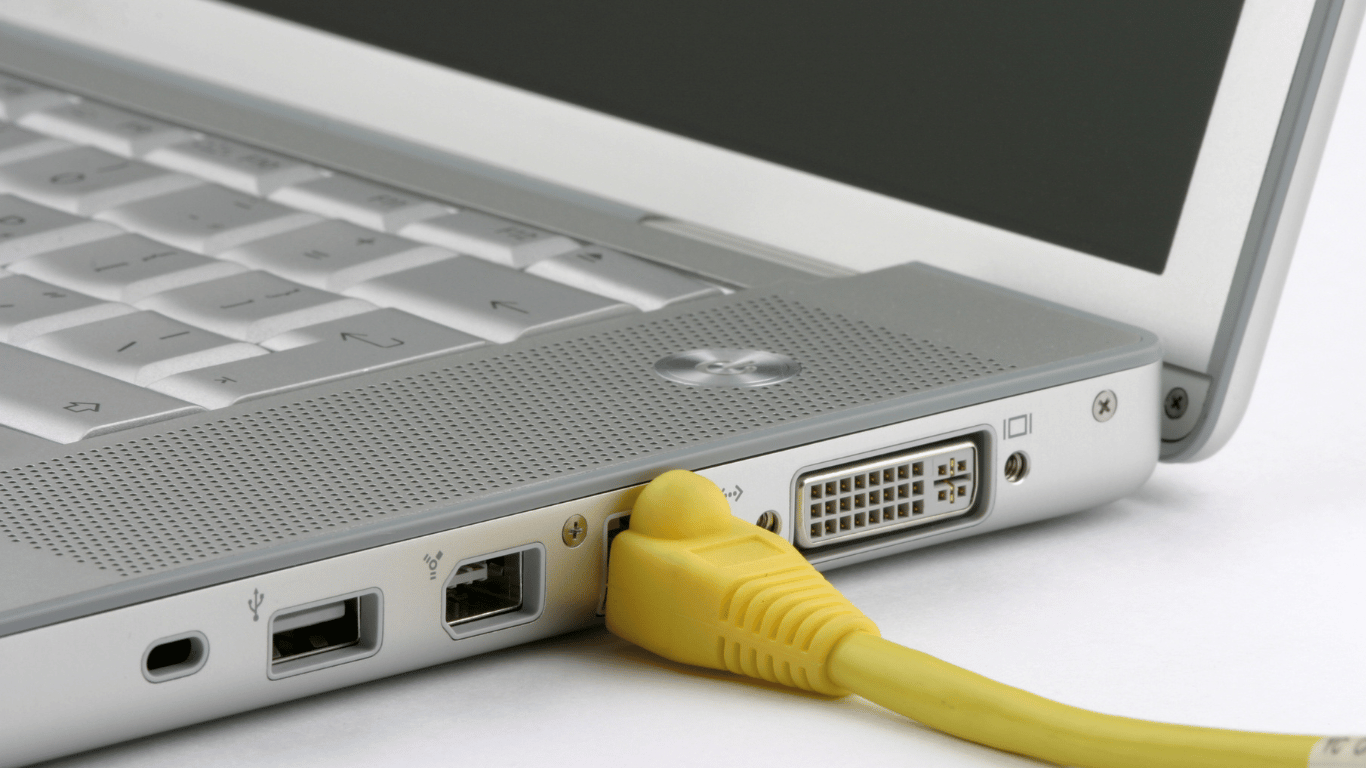
What on earth is hardwiring?
Hardwiring a school’s technology is the process of physically connecting and setting up the school’s technology infrastructure using wired connections. This includes running network cables, power cables, and other necessary wiring to connect various devices and systems within the school building.
Here’s a checklist to get your project started (the non-technical stuff!) :
- Assess and Plan
Evaluate the school’s technology requirements and identify areas that need hardwiring. Consider the number of devices that need connectivity, the required data speeds, and potential expansion needs. - Engage IT Professionals
Hire or consult with IT professionals who specialize in network infrastructure and structured cabling to help design a suitable hardwiring plan based on the school’s needs and layout. - Determine Budget
Calculate the budget required for hardwiring the technology infrastructure. For example, the cost of cables, switches, routers, wall outlets, and any additional networking equipment. - Obtain Necessary Permits
Obtain permits based on local regulations and building codes before running cables and making structural changes. - Create a Wiring Diagram
Develop a wiring diagram that outlines the locations where cables will be installed, including the paths they will take and the endpoints where devices will connect. - Select the Right Cables
Choose appropriate Ethernet cables based on the required data speeds and distance limitations. - Conduct Installation
Run the cables through walls, ceilings, or conduits to connect different areas of the school. Proper cable management is essential to ensure a neat and organized installation. - Terminate and Test
Terminate the cables with connectors (RJ-45) at both ends and test the connections to ensure they are functioning correctly. - Setup Network Equipment
Install and configure network switches, routers, and other necessary networking devices in appropriate locations. - Look Into Safety Considerations
Ensure that all safety protocols are followed during installation to prevent accidents and comply with safety regulations. - Document, Document, Document!
We can’t stress this enough. Keep detailed documentation of the entire hardwiring process, including diagrams, test results, and equipment configurations. This will be valuable for future troubleshooting and expansions. - Conduct Post-Installation Testing
Conduct thorough testing of the entire network to verify connectivity, data speeds, and stability. - Conduct Maintenance and Support
Implement a regular maintenance and support plan to ensure the network continues to function optimally. This includes periodic inspections, cable checks, and addressing any issues that may arise.
Steps 6 – 12 can get pretty technical. So do check out some of these resources by Tech Safe School for articles with technical details on hardwiring schools.
By going through these steps (thoroughly) and collaborating with experienced IT professionals, a school can successfully begin hardwiring its technology infrastructure and eventually build a school environment with lesser exposure to non-ionizing radiation for children. Don’t rush it and go on your own pace! Good luck!